Images & drawing
Image bubbles
Right-click → Image → Load image picks a local file and drops it as a draggable sprite, opening straight into the built-in image editor. A small toolbar adds:
- ⭳ Export — download the current image.
- ✓ Done — close the editor, keeping your edits. The current canvas (all edits applied) is persisted and collapses back to a sprite — no separate Save step and no “discard changes?” prompt.
Double-click a sprite to re-open it in the editor. A bottom-right corner grip resizes an idle sprite to any size (free aspect); the chosen size persists and survives edits.
Generating images
Right-click → Image → Generate image pops a prompt at the click point. On commit it runs text-to-image against a configurable image-generation API and embeds the result exactly like a loaded image (editable in the same editor). A dashed “Generating…” placeholder tracks the spot until it lands; errors show inline.
Configure it in the Models tab’s Image generation section — the same BYOK-or-hosted choice as chat, made independently: bring your own key and base URL (free, runs from your browser via the dev proxy) or pick a hosted model paid from your balance. See Accounts & billing.
Transforming images (image-to-image)
Every image — loaded or generated — carries an orange + on its bottom edge, just like chat bubbles and code cells. Click it for a small menu:
- Transform — open the Transform image dialog: write a prompt, pick size / quality / count (and, in hosted mode, a different model per result), and submit to run image-to-image (see below).
- Chat — start a chat about the image, with it pre-attached as vision context.
- Python — spawn a code cell below that already reads the
image as
IMAGES. - HTML5 — spawn an HTML5 bubble below with the image linked in
as
IMAGES.
The result is a small lineage laid out beneath the source and joined by Bézier connectors:
source image → prompt bubble → row of N variations
- The prompt bubble is display-only; the variations are full image bubbles you can edit, resize, or transform again — so transforms chain into a tree of variations.
- The whole lineage is persisted and synced and survives disk export/import.
- The same curved connectors apply: they reshape as you drag either end, and a hover-to-remove × sits at each connector’s midpoint.
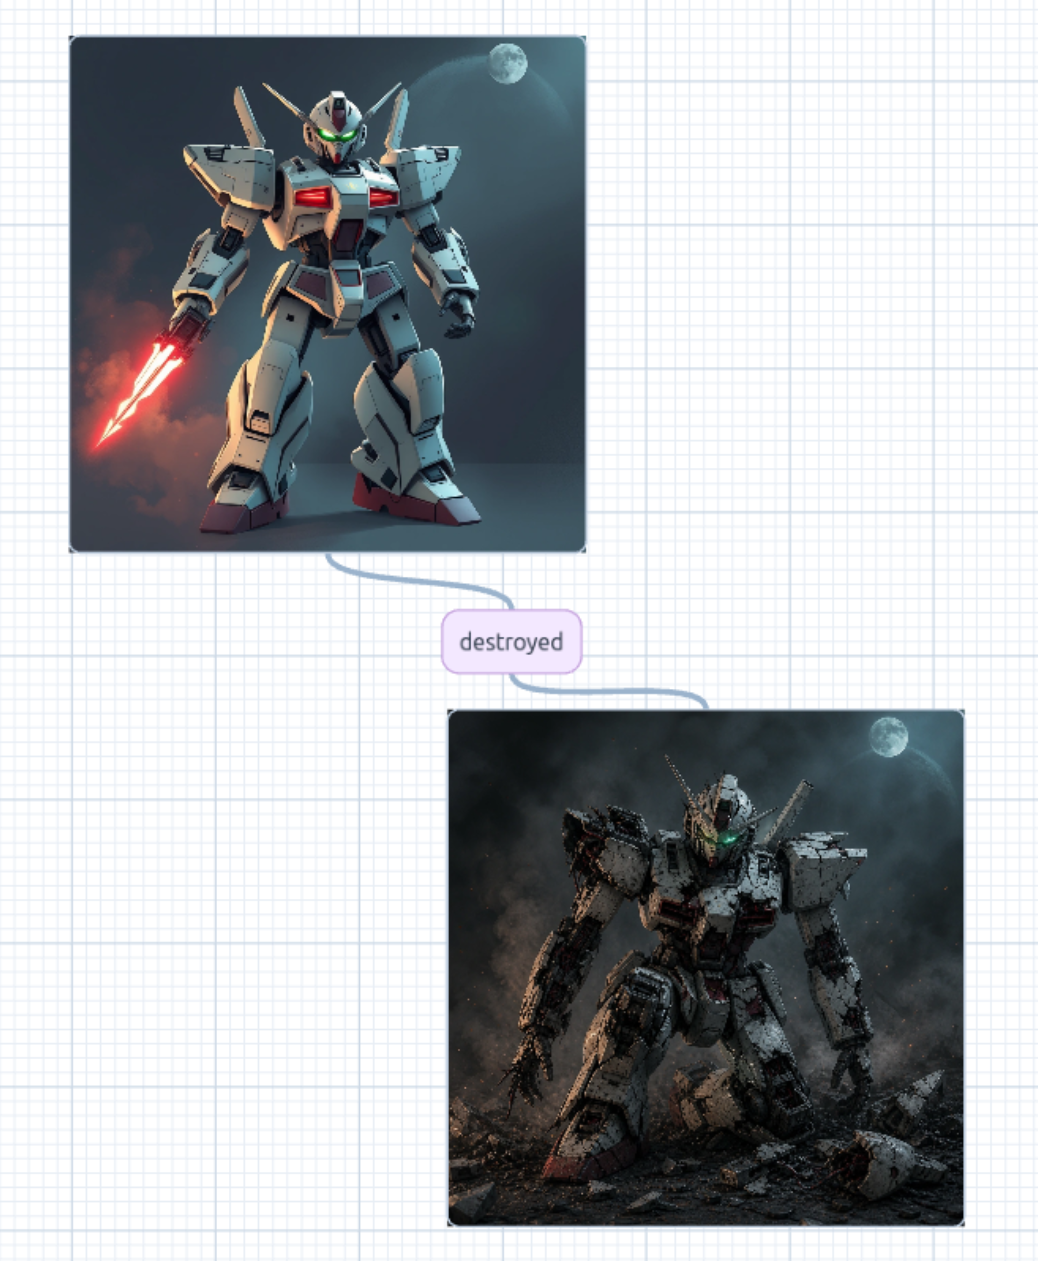
Transforms run against your configured image-generation provider (an edit-capable model), using the same Models tab settings as generation.
Tip: an image’s + also drags — dropping it onto a code cell links the image in as data instead of transforming it. See linked images.
Animate a still: the same Transform image dialog has an Image / Video toggle — flip it to Video to turn the source image into a short clip. See Video → Image-to-video.
Combining images (the image connector)
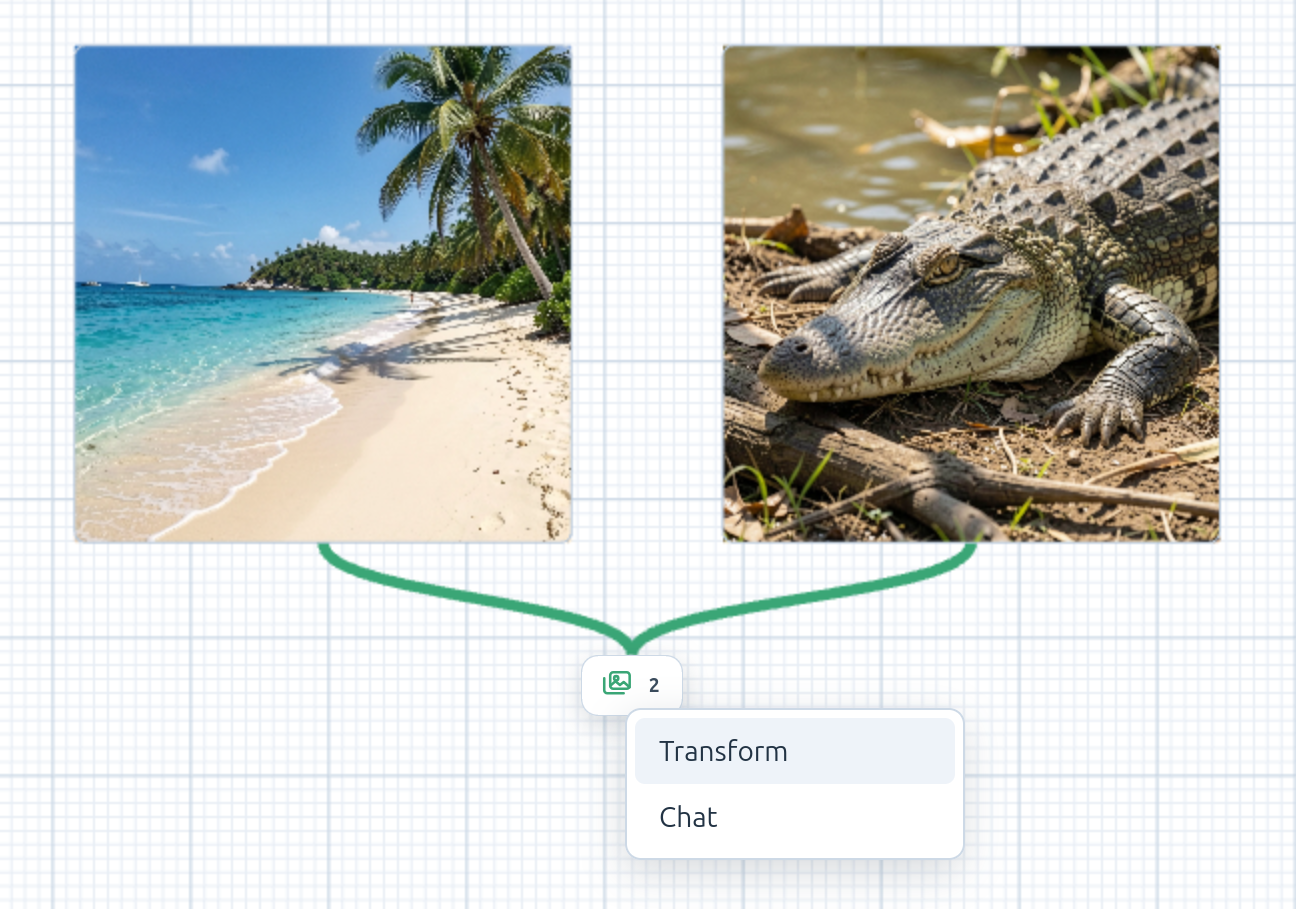
To act on several images at once — transform them together or chat about them as a group — use an image connector. Right-click → Image → Image connector drops a small connector hub on the board: a stacked-photos icon with a live count of the images linked to it (and an × to remove it).
- Link images in by dragging any image’s orange + onto the hub — the same gesture as linking an image to a code cell. A green connector is drawn (with a hover-to-remove ×), and the hub’s count ticks up. Connect as many images as you like.
- Right-click the hub for a Transform / Chat menu — the same choices an
image’s own + offers, but acting on all the connected images together:
- Transform — the hub morphs into an image-to-image prompt bubble in
place, sending every connected image as an
image[]source and dropping the row of results beneath it (sources re-link to the prompt as a lineage). - Chat — the hub morphs into a chat input bubble with all the connected images pre-attached as vision context; its reply spawns below.
- Transform — the hub morphs into an image-to-image prompt bubble in
place, sending every connected image as an
The hub keeps the connected images attached when it morphs — the connector becomes your choice rather than spawning a separate bubble. The hub and its links persist and sync with the board and survive disk export/import.
The drawing tool
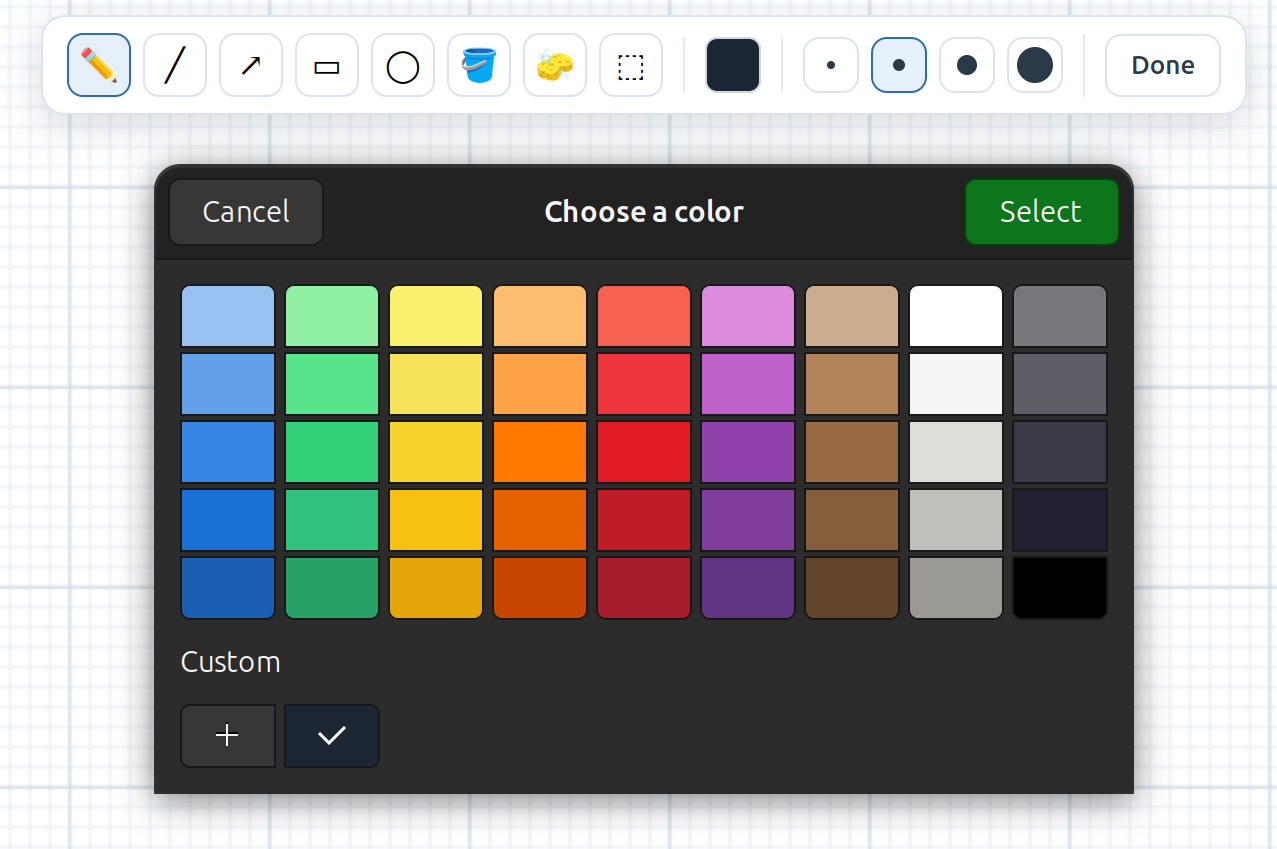
Right-click → Draw opens a top-center toolbar and arms freehand painting on the grid:
- Tools: freehand pen, straight line, arrow (click for the tail, drag, release for the head — the barbed head scales with the stroke width), rectangle, ellipse, fill (bucket any enclosed region with the current color), erase (drag to remove strokes under the cursor), and select (marquee-select strokes, then drag them).
- A native color picker for any stroke color and a few stroke widths.
- Done closes the tool.
Select & move: with the select tool armed, drag out a frame on empty board — every stroke it touches is selected (a blue outline marks the group). Then press inside the selection and drag to move it all at once; pressing outside starts a fresh frame.
Fill is a true flood fill: it handles regions bounded by any combination of strokes (a triangle drawn as three separate lines, or one lune of overlapping circles) — click the enclosed area you want and only that region fills, with the boundary landing on the strokes. Clicking open space or an un-closed shape fills nothing; clicking inside an existing fill recolors it.
Strokes are vectors stored in world coordinates, so they pan and zoom with the board and their widths scale like the connectors. The eraser removes whole strokes it touches. Every edit — including moves — commits through the board’s model, so it’s persisted, synced, and shared with collaborators.